
Occasionally I love the treat of a chocolate truffle, if only they could find a way to ditch the plastic film and tray.
Until they do, here’s my home made, inexpensive, but quite delicious alternative. Why don’t you give it a try this weekend.
Peanut butter truffles are very easy to make at home, with just a few ingredients, as long as you make them a few hours in advance so they have time to firm up in the fridge. If you don’t like nuts, you can leave them out of the recipe
These are what I use. This quantity makes 16 bite sized truffles, so if you don’t have people round to help you eat them, best to halve the quantities.

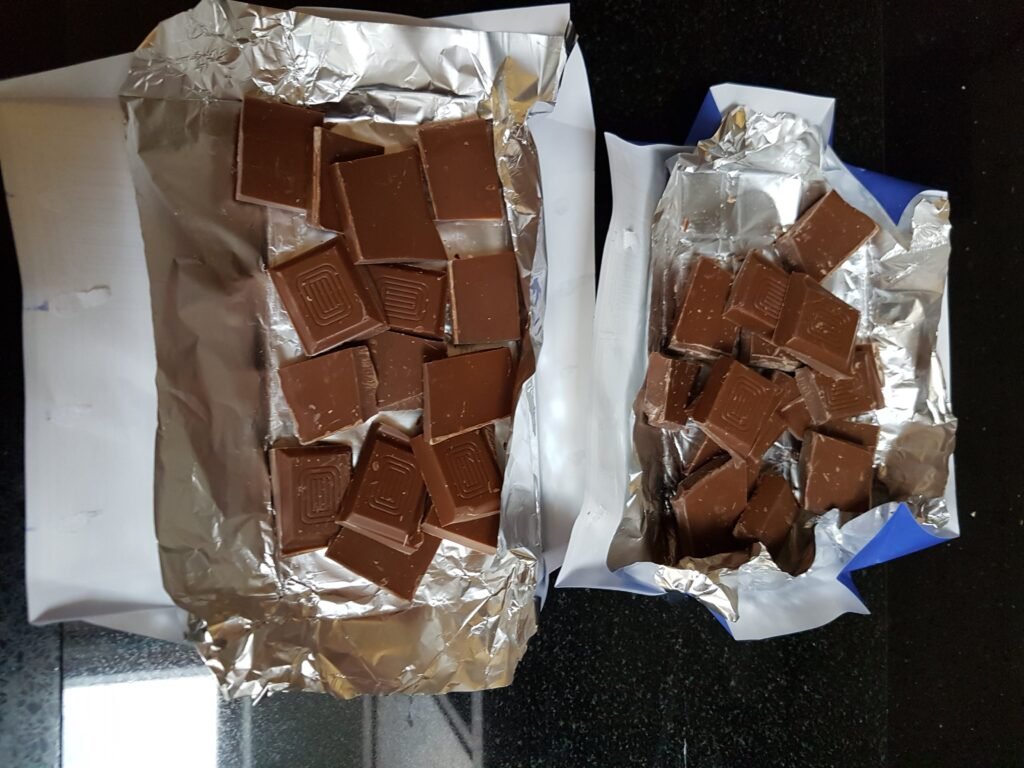
200g milk chocolate (plus a few spoons of cocoa powder to roll the finished truffles in, or if you prefer to dip them in a chocolate coating like me, you need an extra 200g of chocolate) – Morrisons are selling 100 g chocolate bars for 50 pence each, and they are great.
5 tablespoons of crunchy peanut butter- I look for peanut butter sold in a glass jar with a metal lid
1 x 170 g tin of thick cream – yes, Carnation sell cream in a tin, and the unopened contents last the same as any other tinned food, and to me it still tastes of cream! No need for plastic tubs any more.
1 knob of butter.
Start by opening up the can of cream and empty the whole contents into a bowl.

When you open the can the contents will have separated into the fats and liquid, like this which may look off putting, but don’t be alarmed.
Simply gently stir to recombine the contents
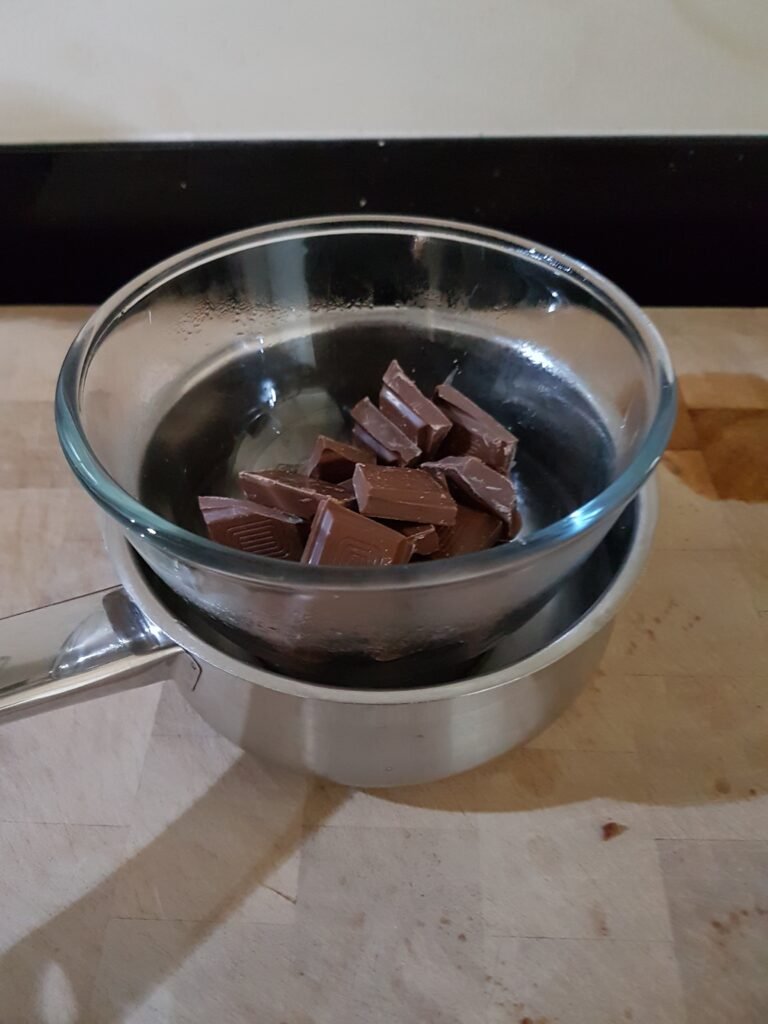
Next break 200g of chocolate into pieces
Put the cream into a pan and gently warm over a low heat until its hot but DON’T LET IT BOIL. When it’s hot remove from the heat and add the chocolate pieces and knob of butter
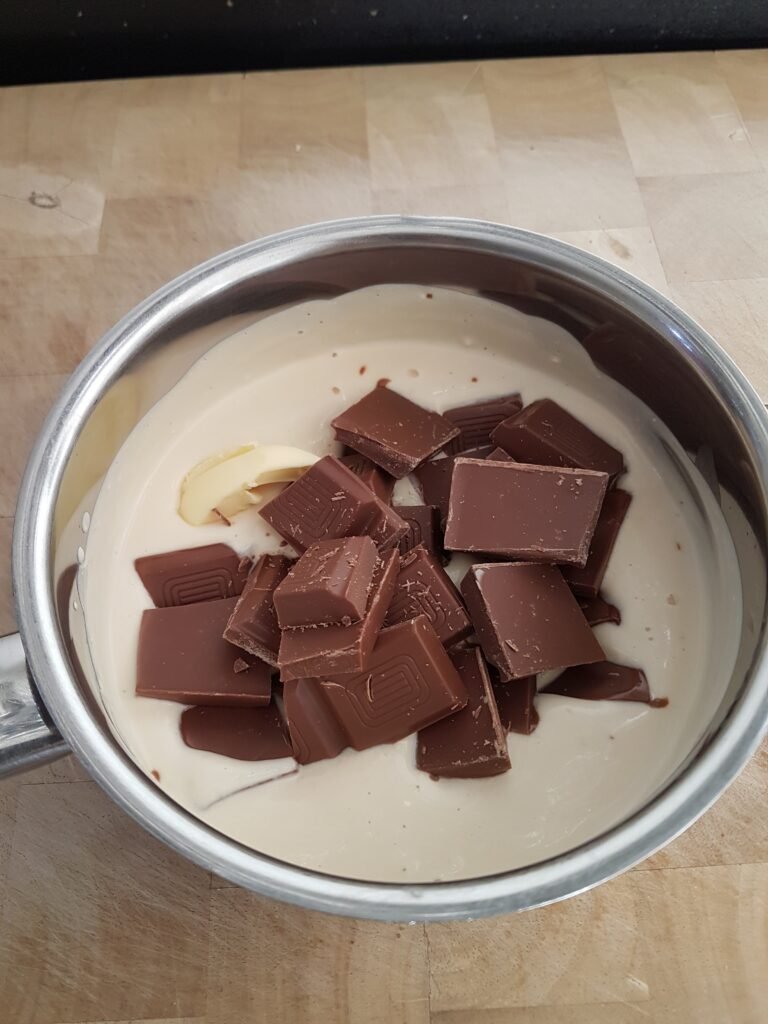
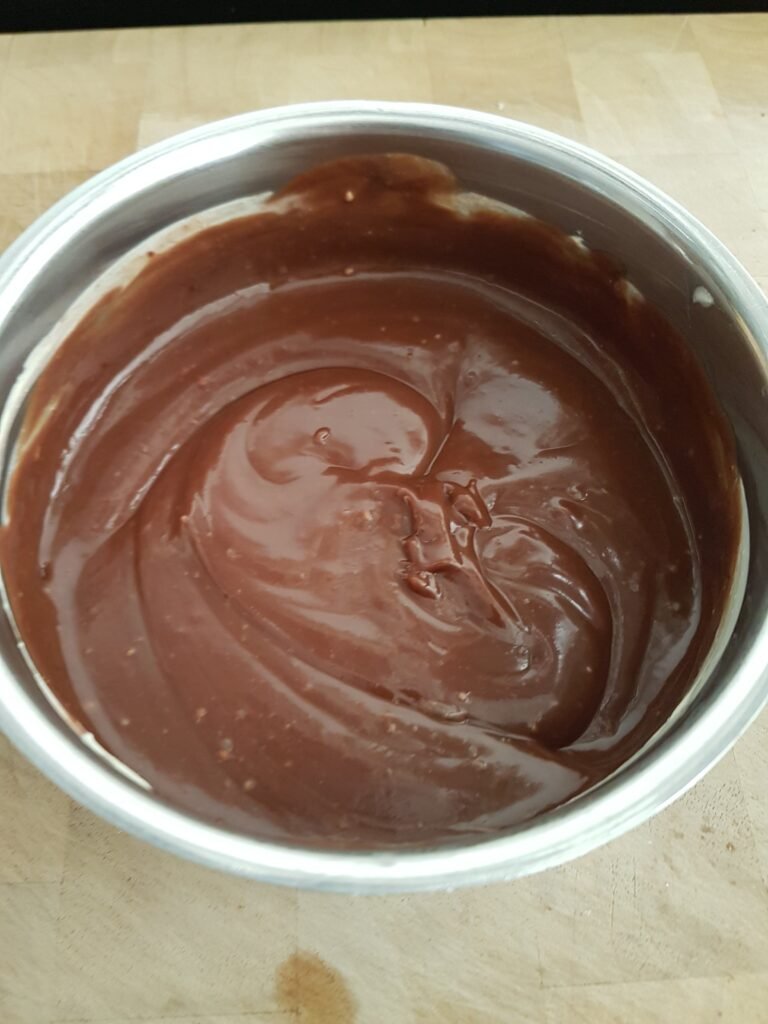
Submerge the chocolate under the cream and Leave for about 5 minutes without stirring, then gently mix until all the chocolate has melted
Next add the peanut butter
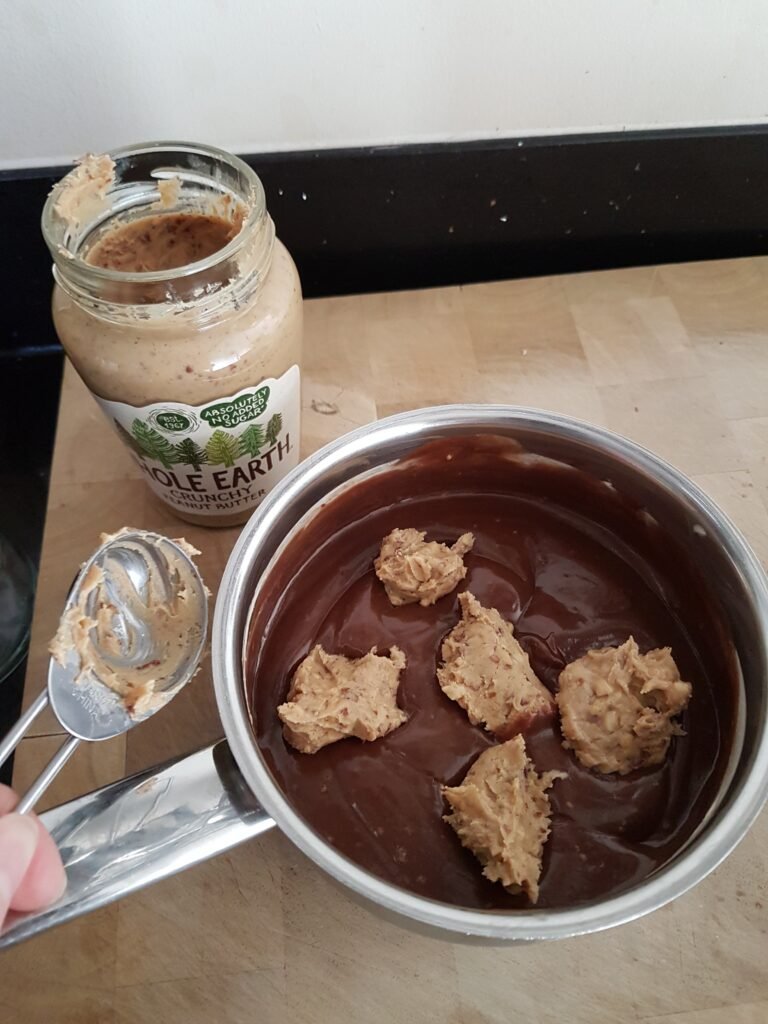
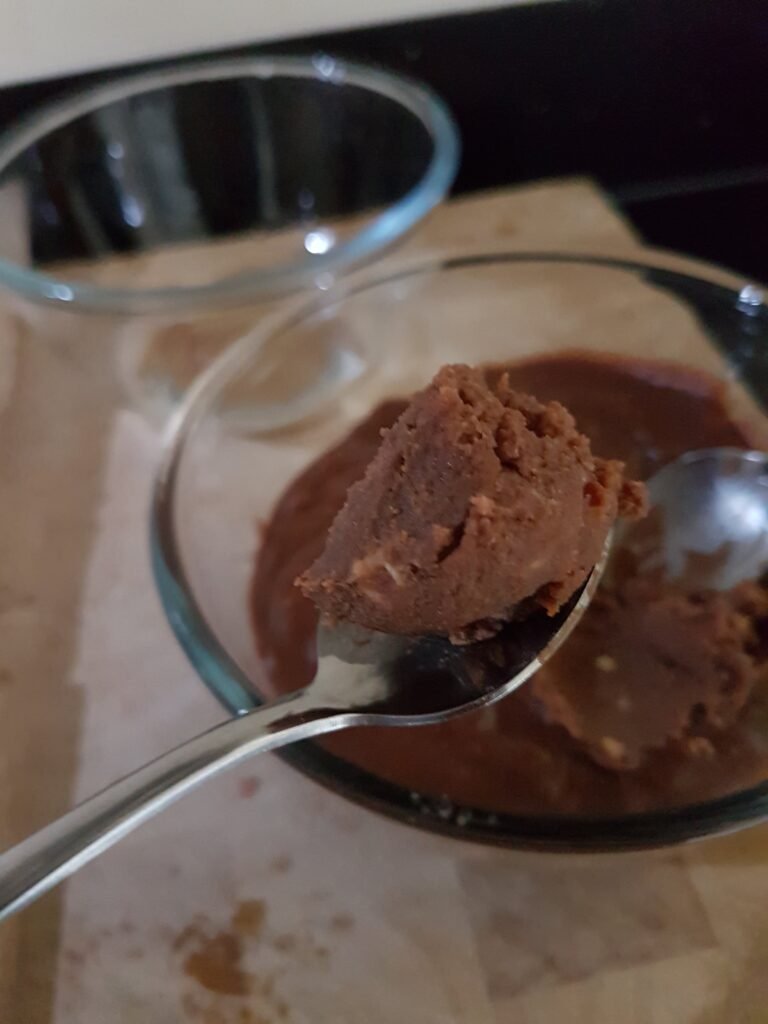
Stir the peanut butter in, then put in a bowl and refrigerate for at least a few hours until firm enough that when you spoon it out it holds its shape.
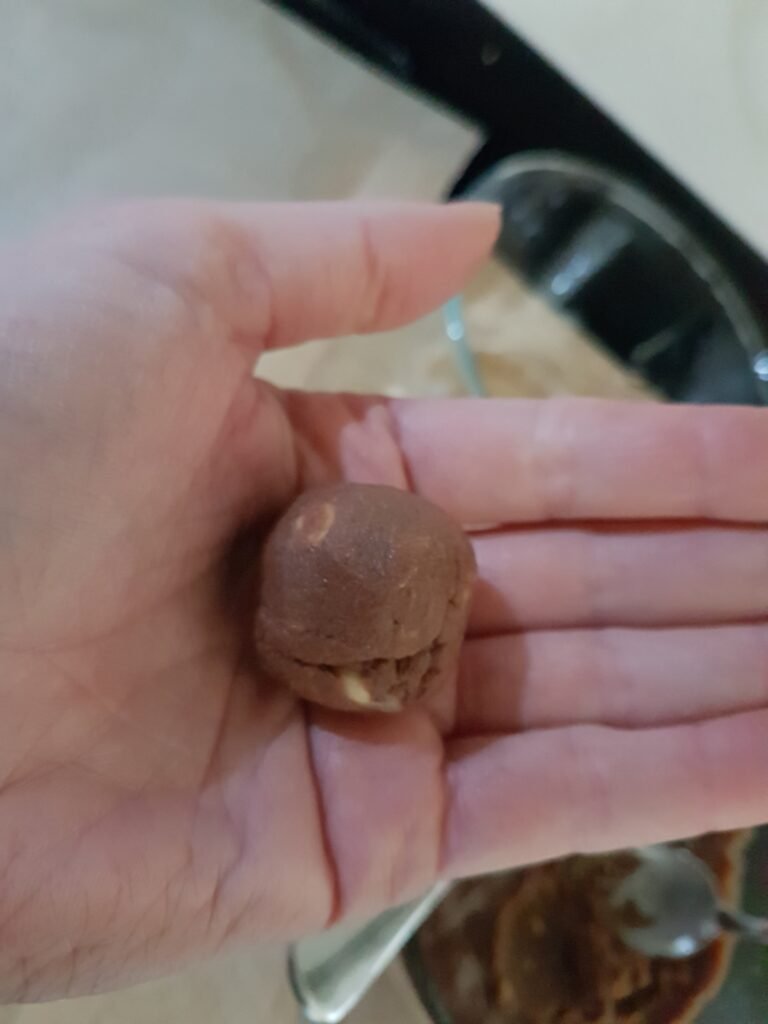
Next roll a teaspoon full in your hands into a ball. This is sticky and makes a bit of a mess on your hands.
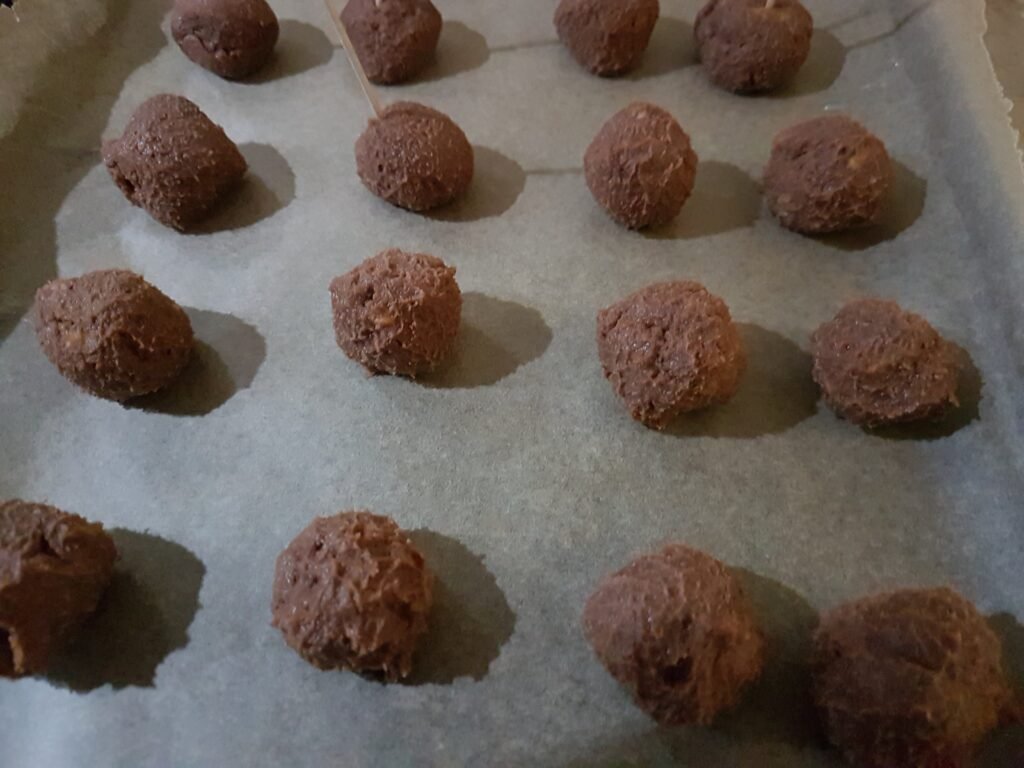
Do the same with the rest and lay them out on a tray lined with baking parchment
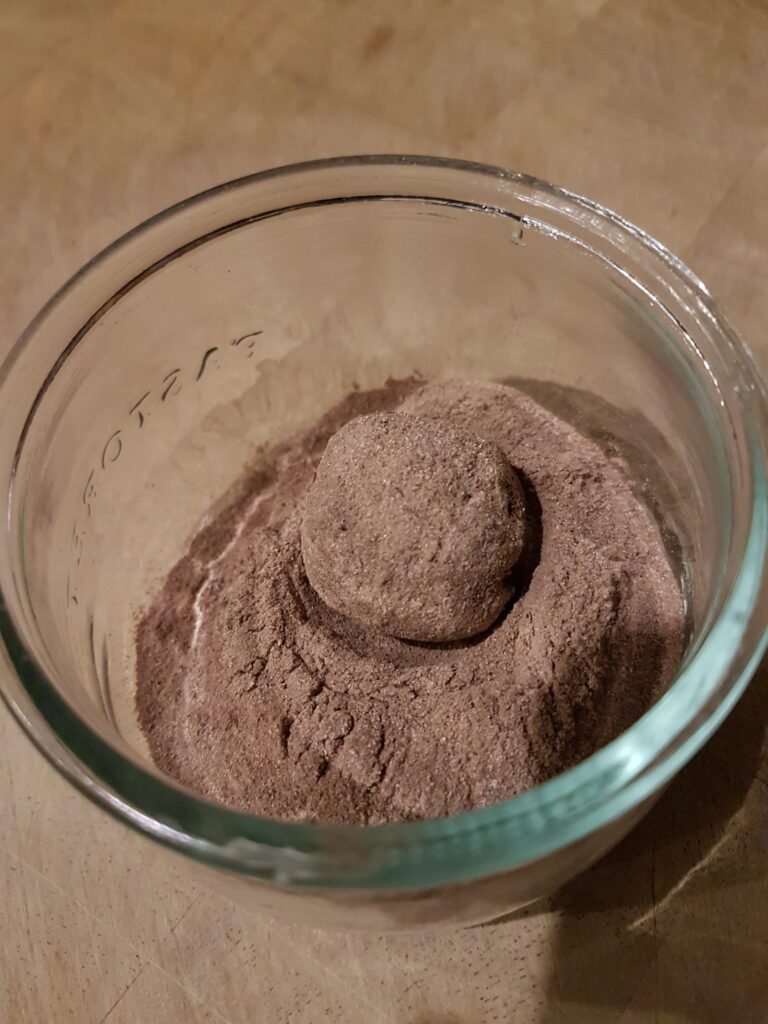
Now you can roll them in the coating of your choice, such as cocoa powder then job done! Enjoy.
But I like dipping them in more melted chocolate.
Before starting, return the tray of ready rolled truffles to the fridge to firm up again while you melt the extra chocolate.
Break up 200 g chocolate into pieces and place in a bowl over a pan of hot water making sure the bottom of the bowl is not touching the water. Wait for the chocolate to melt.
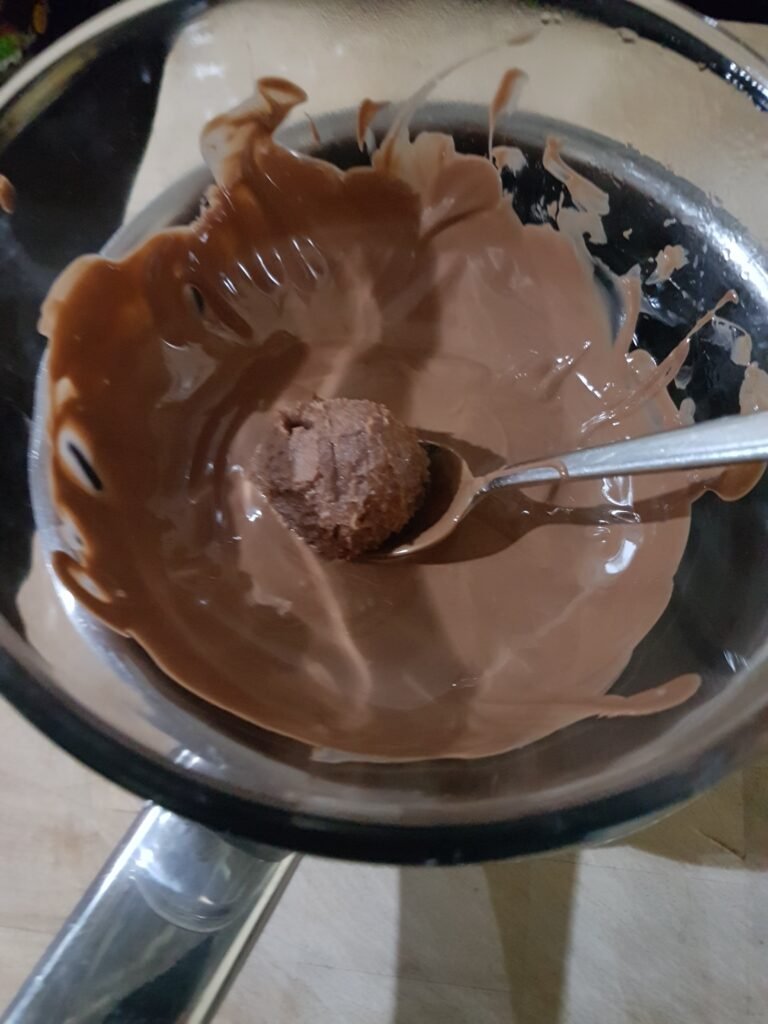
Then using a spoon or fork one by one gently roll the truffles around in the melted chocolate.
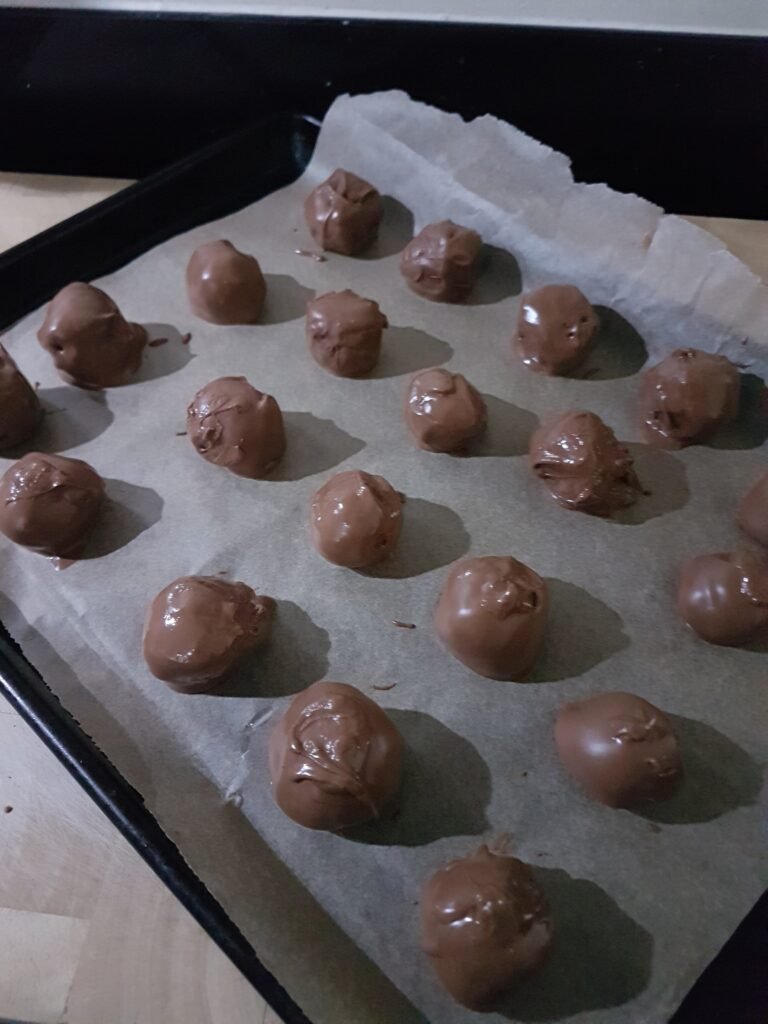
Place them back on the tray. You may need to re-melt the chocolate part way through to keep it nice and runny for dipping.
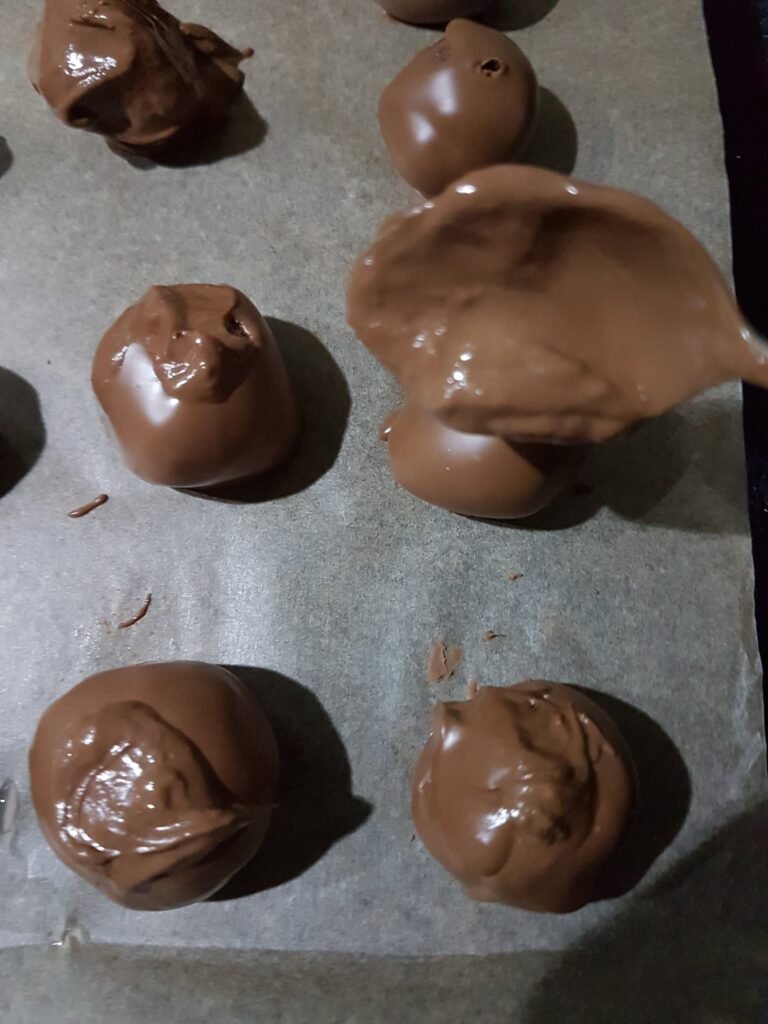
Touch up any areas of imperfection with the remaining chocolate
Return the tray to the fridge until firm, then you can serve them. I like to put mine in an old chocolate box that I have kept to re-use.
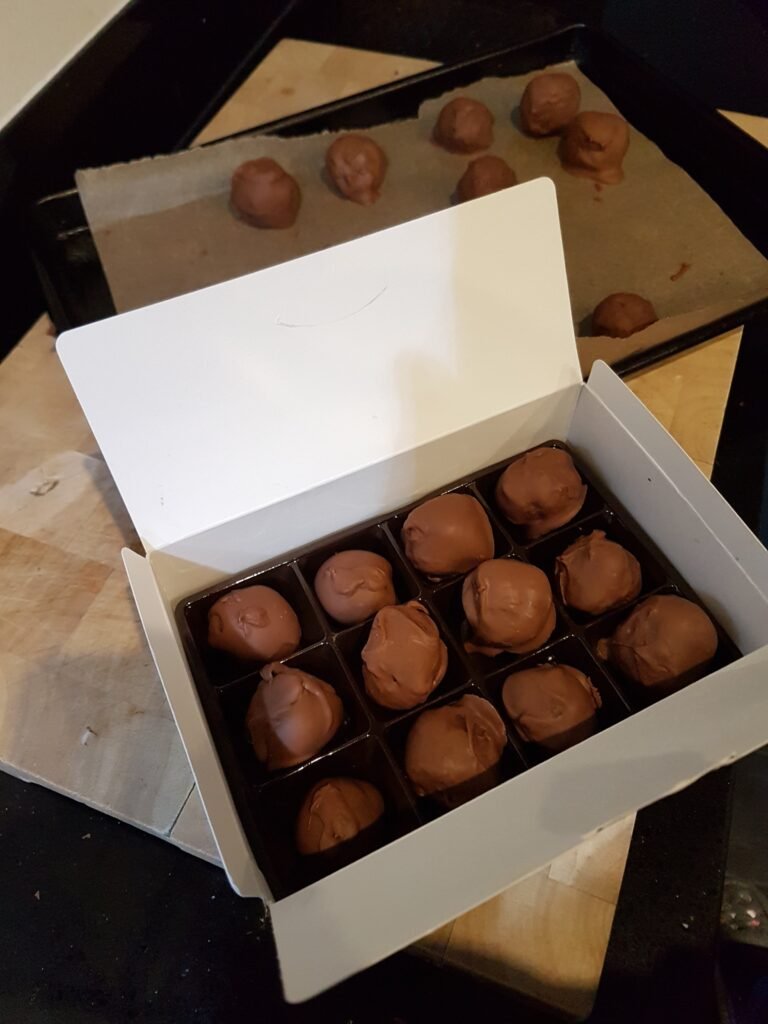
They keep in the fridge for up to 5 days, but I’d be very surprised if they hung around that long!